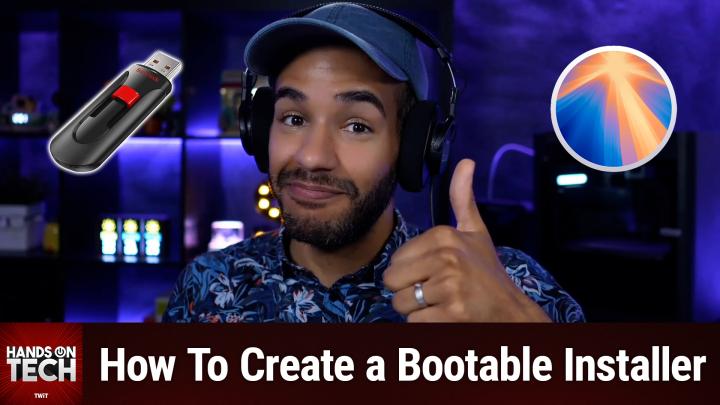
How to Create a Bootable macOS Installer
AI-created, human-reviewed.
While Apple has made it increasingly easy to reinstall macOS through built-in recovery options, tech enthusiasts and IT professionals still find value in creating bootable installers. As Hands-On Tech host Mikah Sargent explains, "I think it's important to always have that option so that, if you need to, you're able to reinstall a fresh version of macOS without needing to access the internet."
Apple's support documentation even starts with the question "Do you need a bootable installer?" suggesting that most users can rely on the built-in recovery partition. However, there are compelling reasons to create one anyway. What happens when your built-in networking fails, or you need to perform multiple clean installations? A bootable installer provides the independence that many tech professionals require.
The Challenge of Getting macOS Installers
Unlike the days when you could purchase macOS on physical media, Apple now requires users to jump through several hoops to obtain installer files. Sargent notes that "Apple doesn't make it simple and easy for you to just go and download macOS from the internet." While system administrators have access to Terminal commands for downloading installers, the official Apple-approved method involves the App Store.
The process begins by visiting Apple's "How to Download and Install macOS" support page, where you'll find links to different macOS versions. When you click on your desired version, such as Sonoma, it opens the App Store where you can download the installer. However, there's a crucial step that many users miss.
The Critical Download Step
Once the installer finishes downloading, it automatically launches - and this is where many people make a mistake. "Do not go through the process, do not click next and go through the process of installing, because if you do, that installer is going to magically disappear from the applications folder," Sargent warns. Instead, you must close the installer immediately to preserve the installation files you'll need for creating the bootable drive.
The installer will be saved in your main Applications folder (not the user-specific Applications folder), and you'll need to locate it there before proceeding to the next step.
Hardware Requirements and Setup
For the bootable installer, you'll need a USB flash drive or SSD with adequate storage capacity. Modern macOS versions require 32 gigabytes of space, while older versions need only 16 gigabytes. Since Apple doesn't specify exactly where this cutoff occurs, Sargent recommends using a 32-gigabyte or larger drive to ensure compatibility.
Apple's documentation suggests renaming your drive to "MyVolume" with proper capitalization, as this simplifies the Terminal commands you'll use later. However, experienced users can work with any drive name by adjusting the commands accordingly.
Using Terminal to Create the Bootable Installer
The actual creation process involves Terminal commands that might seem intimidating to casual users, but Apple provides specific command strings for each macOS version from Sequoia back to El Capitan. These commands use a script called "createinstallmedia" that's built into the installer package.
The Terminal command essentially tells the system to create an installable version of macOS on your specified volume. You'll need to enter your administrator password since the command uses "sudo" for elevated privileges. The process will erase your drive and install the bootable macOS system, changing the drive name to something like "Install macOS Sonoma" when complete.
Troubleshooting Common Issues
Sometimes users encounter error messages stating they don't have a valid installer application. In these cases, you may need to open Disk Utility and repair the startup disk before proceeding. Apple's support documentation covers various potential issues and their solutions, making it worthwhile to keep the guide handy during the process.
Using Your Bootable Installer
Once you've created the bootable installer, using it differs depending on your Mac's processor type. For Apple Silicon Macs, you shut down the computer, connect the bootable installer, then press and hold the power button until you reach the startup options page. Here you'll see both your hard drive and the bootable installer as options.
For Intel Macs, the process involves shutting down, connecting the installer, powering on while holding the Option key, then selecting the bootable volume from the startup manager. Both methods will launch the macOS installer, allowing you to perform a clean installation.
When Bootable Installers Become Essential
While Apple's built-in recovery options work well for most situations, bootable installers prove invaluable when dealing with serious system issues or when internet connectivity is unavailable. They're particularly useful for IT professionals managing multiple machines or users who prefer having complete control over their installation process.
As Sargent concludes, creating a bootable installer is "very simple, very easy to do" once you understand the process. The key is following each step carefully, particularly avoiding the temptation to run the installer immediately after downloading it. With a bootable installer in hand, you'll have a reliable tool for clean macOS installations whenever the need arises.
Final Thoughts
Creating a bootable macOS installer represents a perfect blend of preparation and technical know-how. While Apple has streamlined the recovery process for typical users, having a bootable installer provides the flexibility and reliability that power users and IT professionals require. The process may seem complex at first, but following Apple's step-by-step documentation makes it accessible to anyone willing to work with Terminal commands.
Whether you're setting up multiple machines, dealing with network connectivity issues, or simply want the peace of mind that comes with having a clean installer ready to go, taking the time to create a bootable macOS installer is a worthwhile investment in your system's future reliability.
Want ad-free Club TWiT exclusive podcasts? You can join Club TWiT for $10 a month and get everything the club offers!
Subscribe and never miss an episode! TWiT.tv/subscribe